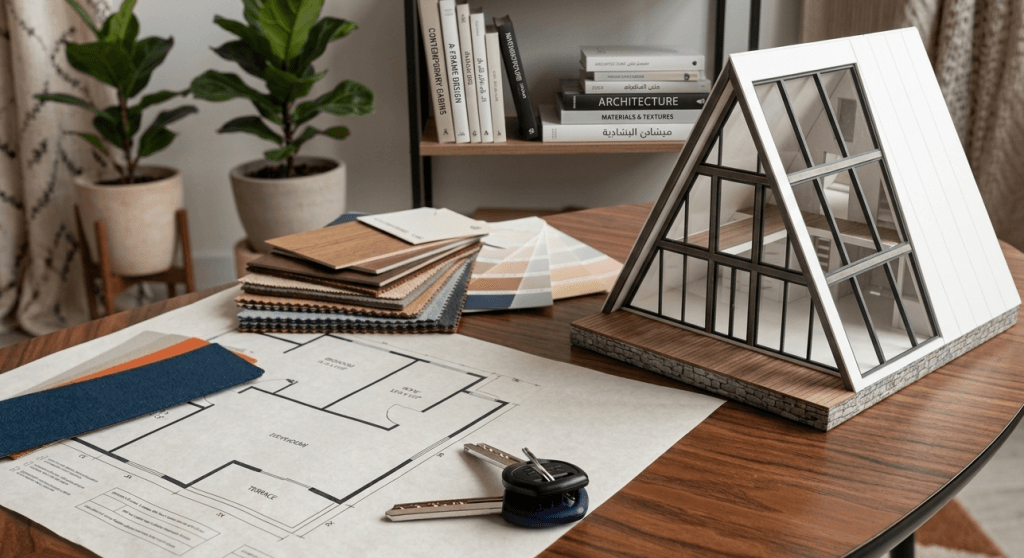

Building and finishing a home is a long journey that requires careful planning to ensure the best quality at the lowest possible cost. Whether you're building your home from scratch or fitting out a new apartment, knowing the process in detail will help you avoid common mistakes and ensure that each stage is executed perfectly. In this report, we provide you with a comprehensive guide that outlines the home finishing stages from start to finish, with practical tips for achieving the best results.
First things first.
First: Planning and design stage Second: Construction and Foundation Phase 2.
2. Concrete structure works (bone) Third: Basic finishes stage 2.
2. Plumbing and sanitary connections 3.
3. Electrical work and connections
Fourth: Final Finishing Stage 2.
2. Flooring 3.
3. Paints and interior finishes
Choosing the right colors for each room based on lighting and decor.
Apply a primer before painting for even coverage. 4.
4. Gypsum ceilings and decorations 5.
5. Carpentry and aluminum work 6.
6. Final plumbing 7. Electrical and lighting work V: Furnishing and final finishing Tips to ensure a successful finishing process
Before starting any practical step, a clear plan should be made that includes:
Determining the overall budget to avoid unexpected expenses.
Choosing the right design in collaboration with an architect to ensure maximum utilization of spaces.
Obtaining legal licenses for construction or finishing according to local regulations.
Determine the quality of finishes and materials used based on personal needs and requirements.
1. Excavation and foundation work
Excavate the land according to the engineering plans.
Pouring the foundations using reinforced concrete to ensure durability.
Implementing waterproofing of foundations to protect them from moisture and groundwater.
Construction of concrete columns and walls according to the engineering design.
Execution of roof works using reinforced concrete or horde roofs as needed.
Conduct technical tests to ensure the quality of execution and the absence of any structural issues.
1. Construction work (buildings)
Construction of interior and exterior walls using red or white insulating bricks.
Locating doors and windows according to the architectural design.
Carry out thermal and acoustic insulation of walls and ceilings if necessary.
Extend water and sewage pipes inside the walls.
Install ventilation pipes and make sure there are no leaks.
Choose the locations of sinks, toilets, and bathtubs before finishing the finishes.
Distribute electrical wires inside the walls according to the engineering plan.
Locate switches, sockets and lighting devices.
Installing the distribution panel (electricity) and ensuring that safety and security standards are applied.
1. Concrete work (plastering)
Apply a layer of mortar to the walls and ceilings to obtain a smooth surface ready for painting.
Make sure the walls are level and use the appropriate mortar to prevent future cracks.
Choose between ceramic, porcelain, marble, or parquet according to the nature of each room.
Carry out insulation in bathrooms and kitchens before installing floors to prevent water leakage.
Make sure the floors are level to ensure perfect installation.
Use washable paints in places that are more likely to get dirty such as hallways and kitchens.
Install gypsum or suspended ceilings to add an aesthetic touch and additional sound insulation.
Implementation of hidden lighting or spotlighting to create an elegant atmosphere for interior spaces.
Install wooden or aluminum doors and windows according to the chosen design.
Ensure the quality of thermal and acoustic insulation of windows to maintain energy efficiency.
Install sanitary ware such as sinks, toilets, and bathtubs.
Make sure there are no leaks in the connections.
Install lights and fans and make sure the electricity is connected securely.
Test all electrical circuits to ensure there are no issues.
Choose the right furniture according to the size and design of each room.
Distribute the furniture pieces in a way that facilitates movement and provides comfort.
Adding finishing touches such as curtains, rugs and home accessories to personalize the space.